Bulk Upload for a Merchant
There are some intricacies to our bulk uploads that can make for a cleaner upload, you'll see some of the information below

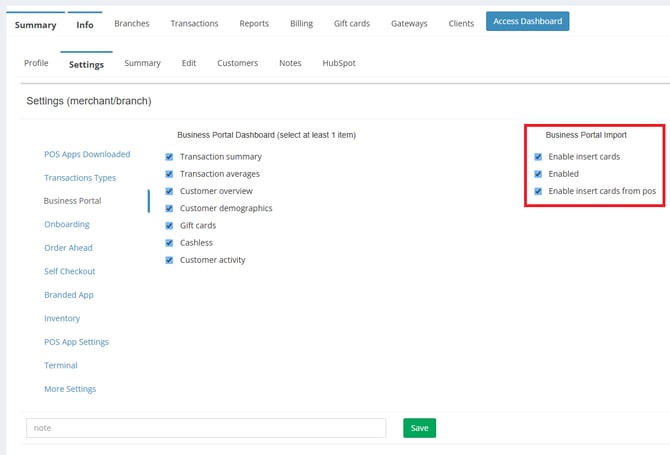
Then you'll want to go into the Info, Settings and Business portal and ensure that Enable Insert Cards, Enabled & Enable Insert Cards from the POS are ticked.

Once this is the case the bulk upload option should appear when under the Customers section of a merchants Business portal.

When it comes to an upload, you'll want to get the raw file. You can do so by clickon Bulk Upload, New Customers, How to Use and then Customer Upload. The link will be in the information provided onscreen.
Here is a breakdown of what can be included on the import and why it can be considered important.
name - alphabets only. example: John Doe
nickname - alphabets only. example: JD
email - please enter valid email format. example: john.doe@gmail.com
phone_number - valid phone numbers without spaces. example: +353891321111
dob - YYYY-MM-DD format. example: 1988-01-31
gender - 'male' or 'female'
amount - decimal number only. Do not include currency or any other formatting. example: 50.00
card_number - (optional) LOYLAP CARD NUMBER ONLY. Only enter this column if you know your LoyLap card numbers. If this column is left blank then the upload will auto generate an ID for each account.
card_type - (optional) Define if the imported number is for a physical or a digital card. This is important for your liability reporting and checking your physical vs digital transactions.
role - (optional) Outline if you want the newly created account to have one of the roles you have on your account associated to it.
![Web-colour (1).png]](https://support.loylap.com/hs-fs/hubfs/Web-colour%20(1).png?width=104&height=50&name=Web-colour%20(1).png)