![Web-colour (1).png]](https://support.loylap.com/hs-fs/hubfs/Web-colour%20(1).png?width=104&height=50&name=Web-colour%20(1).png)
1) Log into your business portal on loylap.com
2) Once logged in click on 'Create' in the top right of the screen.
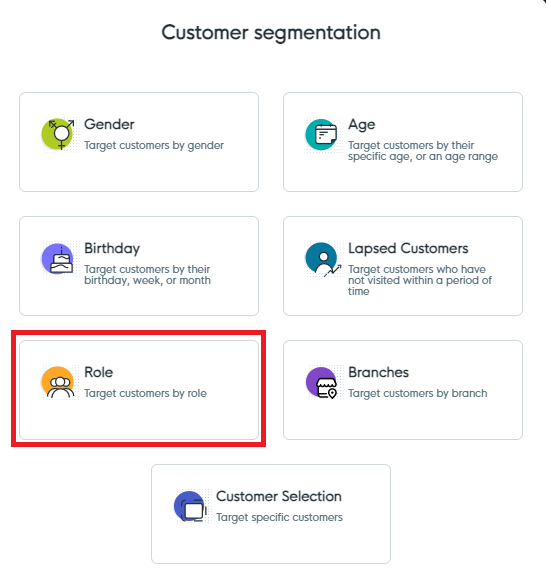
Then click on 'Roles'
3) From here you can name the Role. You can also set the Transaction modifier which will impact prices for the customer role. If you don't want your role to have any price changes then set the Transaction Modifier to 1. *Transaction Modifiers only affect sales and will not be considered for top ups.*
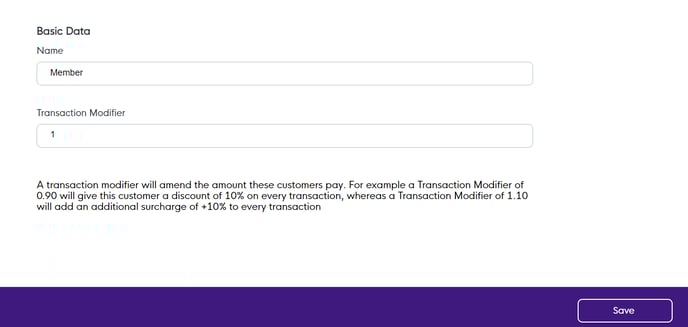
Once complete hit Save.
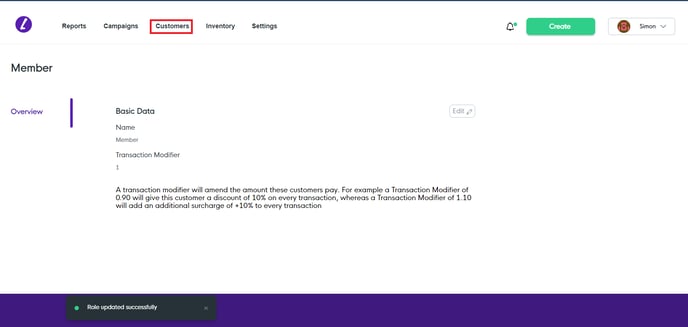
4) You will then be taken to the below screen with a notification that the role has been created. From here click on 'Customers'.
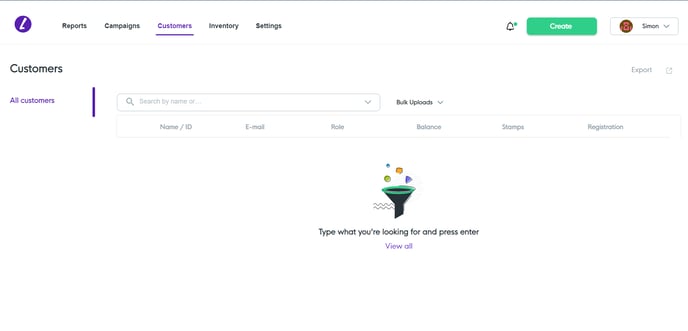
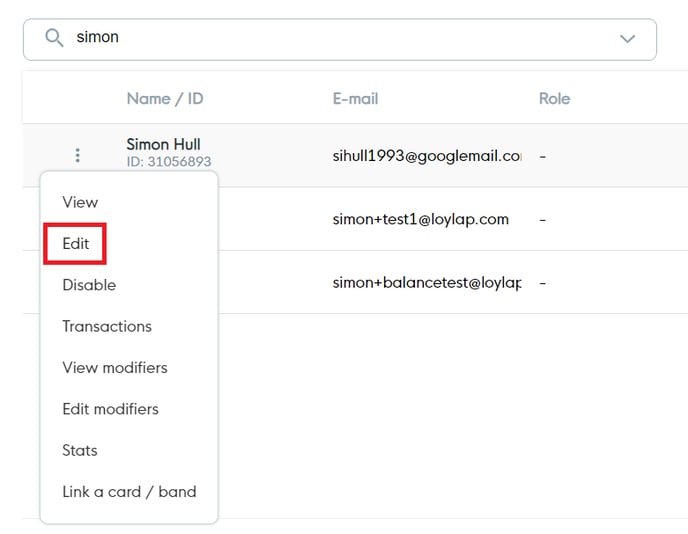
From here use the search bar to find the customer you wish to assign the role to. Once they have been located click on the 3 dots next to their name and then select 'Edit'.
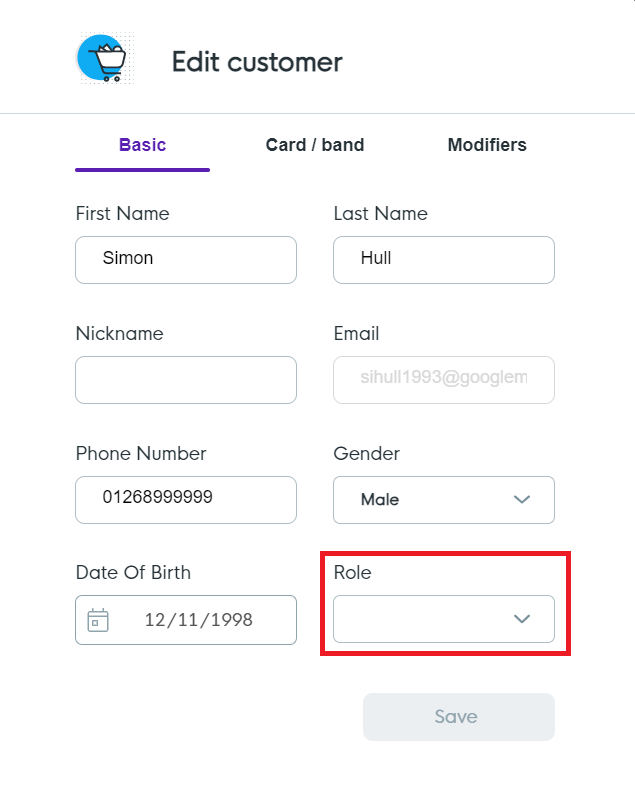
This will bring up the customer information. Click on the drop down under the 'Role' Heading to assign the desired role to your Customer.
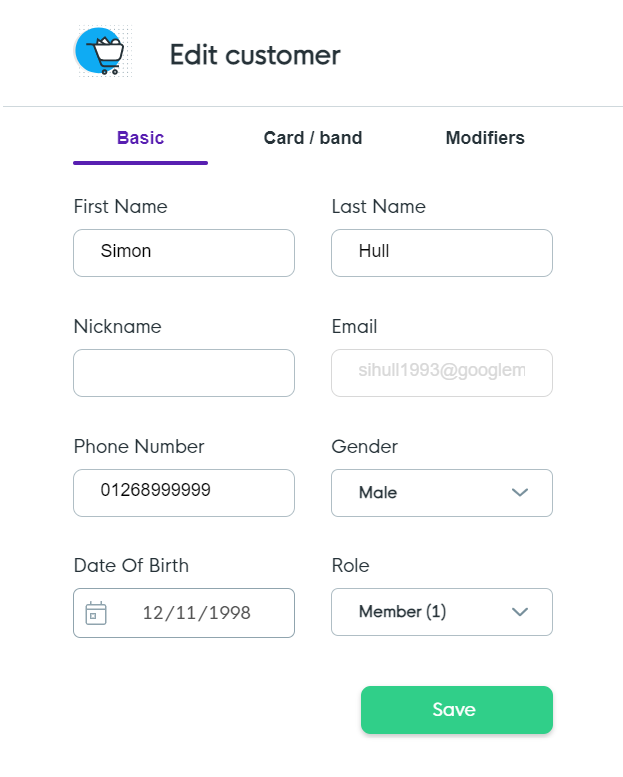
Once the role has been assigned hit Save. You can now use this Role with campaigns to target these specific customers. Should you have any issues with the information in this article please contact us via email on support@loylap.com.