![Web-colour (1).png]](https://support.loylap.com/hs-fs/hubfs/Web-colour%20(1).png?width=104&height=50&name=Web-colour%20(1).png)
1) Log into your LoyLap business portal
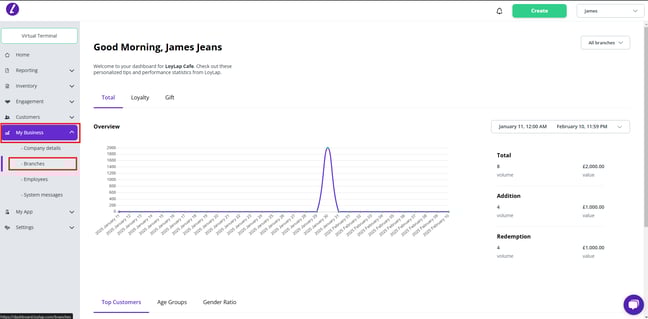
2) Hover over 'My Business' along the navigation bar and then click on 'Branches'
3) You'll see a list of branches associated to the business. Click on the 3 dots to the left of the branch you want to update the Delivery Radius of and then click on Details.
4) This will bring you into the details of the specific Branch. You' then need to click on the 'Ordering' button then 'Delivery' option within the menu on the left side of the screen. This will bring up the delivery details which you can then edit.

5) You'll want to scroll down until you see the Delivery Areas option and the map. Click on the Highlighted Arrow to begin.

Once this is clicked, a single left click on the mouse will put down a point that you can draw from. Moving the mouse will then cause a line to be drawn from that point.
Clicking again will then place a new point on the map. You can then move the mouse from this point to continue drawing your radius.
Repeat these steps until you join back up with the original point on the map. This completes your delivery radius, only addresses input within this radius will be eligible for delivery from this branch.
6) If you want to delete the entered Delivery radius and start again then click on the Bin icon that will be visible on the map. It is worth noting this will only appear after a delivery radius is completed.
7) If you need to stop drawing and move the map then you can click on the highlighted Hand Icon.
Should you have any further questions or require additional support, please contact us via email over on support@loylap.com