Enabling a Branch to accept online orders
Please read instructions below to learn how to enable your ordering settings at specific branches.
How to Find your Branch Settings:
1) On your dashboard homepage, click on 'My Business' --> 'Branches'.

From here click on the Branch you want to amend.

Navigate to the "Ordering' Section:
From within your branch settings, click on 'Ordering' tab on the right side of the screen and then edit. Ensure you have selected an interface and toggle "Enabled"


- Then select the required dispatch method and then edit *N.B each dispatch method will require individual enablement


Once this page has been saved, Ordering Enabled should have a purple tick to show this Branch is accepting Orders.
Fill in the Prep time

- The prep time is the time in which the order will be made and it will apply to all products. The order receipt will automatically print at the Prep Time level - e.g. in this example, 15 minutes before the product is due.
* The prep time will restrict a customer from placing an order collection or delivery time shorter than the prep time. e.g. If your prep time is 15 mins and an Order is scheduled for 1PM, this means the customer would have had to place the order by 12:45 or before.
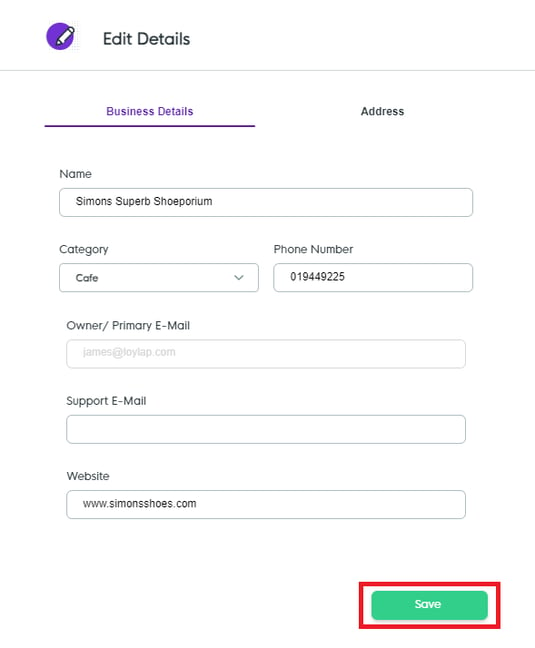
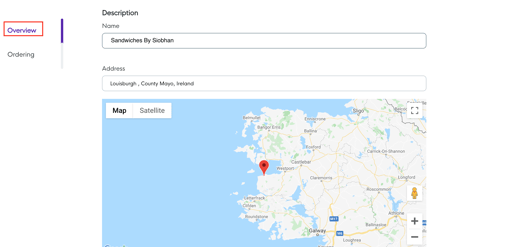
Ensure that the name and address fields are filled in, this will be used for customer contact.

Navigate to the "Location Details" Section:


Disabling a Branch:
At the bottom of your "Overview" section, you will see an option to 'Disable Branch'. When clicked, the below screen will appear.

Final Step:
Once you have applied the settings above and you are happy with your configuration, we recommend refreshing the Order Ahead app on you Clover device to ensure that the Order Ahead app is synced and it will update with the settings that you've set on your portal.
![Web-colour (1).png]](https://support.loylap.com/hs-fs/hubfs/Web-colour%20(1).png?width=104&height=50&name=Web-colour%20(1).png)