![Web-colour (1).png]](https://support.loylap.com/hs-fs/hubfs/Web-colour%20(1).png?width=104&height=50&name=Web-colour%20(1).png)
1) Log into you business portal on loylap.com
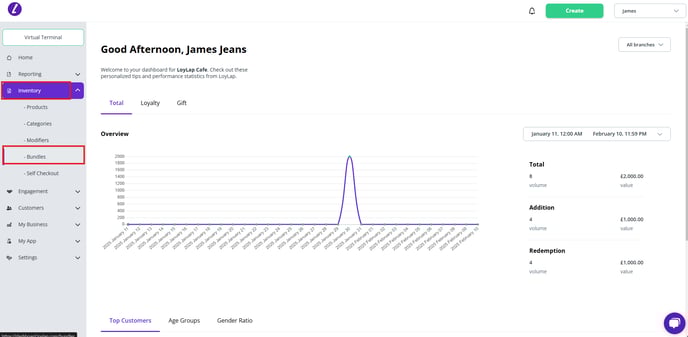
2) From here you'll want to hover over 'Inventory' and then click on 'Bundles'.
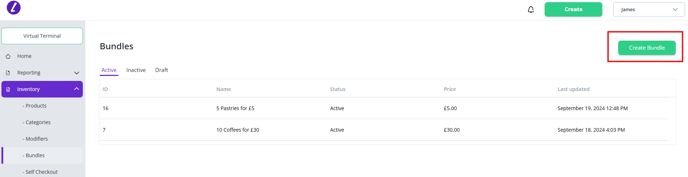
3) You'll then be shown the below screen, which will list all of your Active Bundles. If you don;t have any set up then this will be blank. Click on the 'Create Bundle' button in the top right to start creating your Bundle.
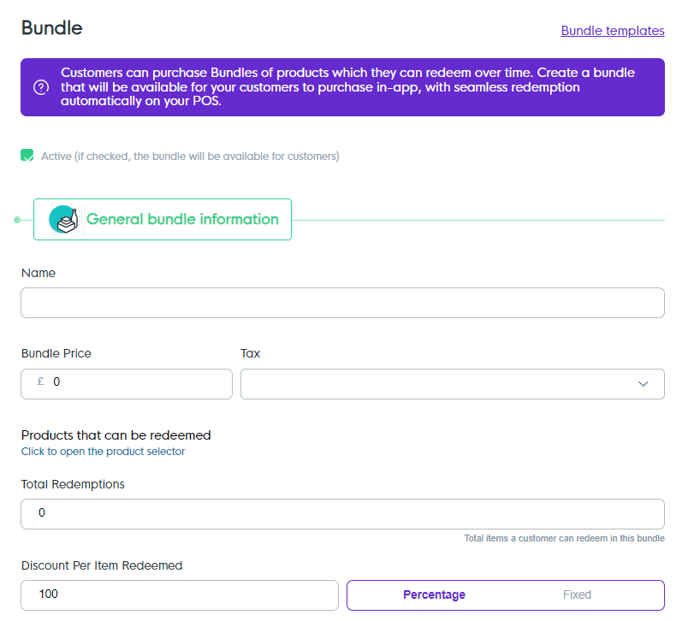
4) The General Bundle information is where you can input the information related to your bundle. This is a very flexible system, allowing you to customise the Price, Tax Rate Items being sold, the quantity of the bundle (how many times this bundle can be redeemed) and the discount that is applied when a bundle is redeemed on the POS.
We'll got through an example where we set up a Bundle that is for multiple coffees. The Bundle will be for a reduced upfront price the customer pays, this will be applicable against all coffees which will be fully discounted when the customer redeems the bundle.
The name is how the bundle will be listed within your Inventory. This should be treated as what you are advertising to your customers. We'll list this as 10 coffees for £30.
Bundle Price is the cost of the bundle for the Customer, which will be charged when they purchase the bundle. The Tax rate can be chosen based upon what you have set against your business.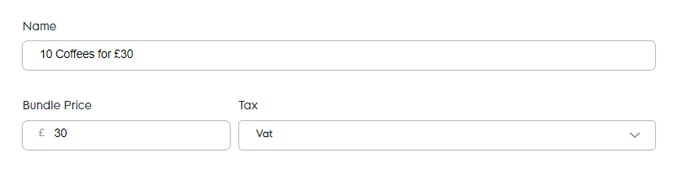
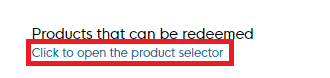
We've now set the name for the bundle and set the cost that will be charged, we can now assign the items to the bundle. Start by clicking on the 'Open Product Selector'
This will then open up the below screen. You can use the search bar at the top to find specific items. You can also use the plus symbol to the right of the items to add specific items to the bundle. In our example, we'll be adding all of the items from the Coffee category. To do so, click on the desired Category from the list on the left hand side.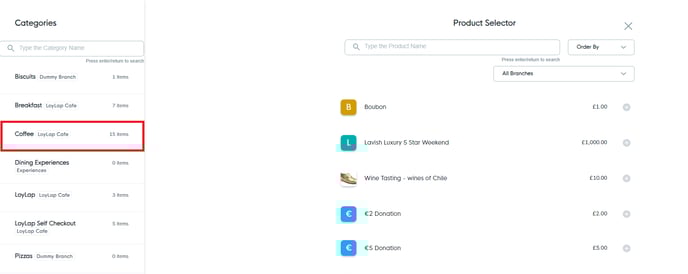
This will take you to a list of products within the selected category. You can then choose to add only selected items from the product list or you can click on 'Select Category' to add all of the items to the Bundle.
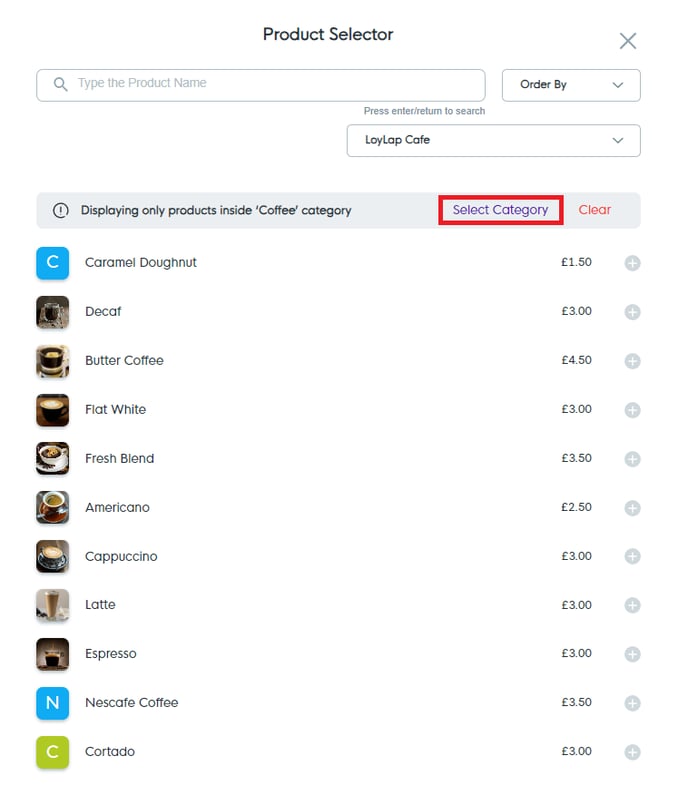
This will open another box at the bottom of the screen, allowing you to confirm what items you want to add to the Bundle. Once happy click on Confirm.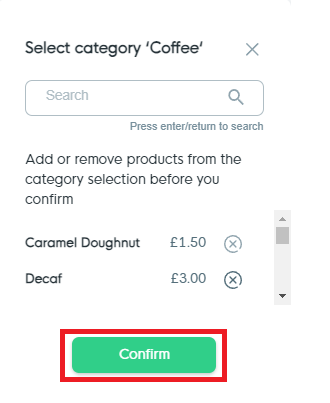
You'll then be taken back to the Bundles Screen.
5) Our next step is to set the redemption limit. This is the amount of times a customer can redeem the bundle. In our example we'll want to set this to 10. Following this you then outline the discount. This is configuring how much the system will discount the item by when the customer is redeeming the bundle.
As we are selling all coffees upfront in our example, we want our discount to be 100%. This means that when the customer redeems the bundle, there is no payment to be made (as they already completed the purchase when the bundle was bought).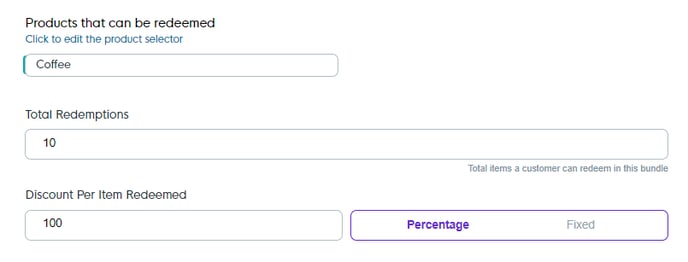
6) Now that the basis of the Bundle has been set up you'll want to outline the description and terms of your bundle so customers know exactly what they are purchasing. Terms can be used to explain the items and any rules you want to set. Finally an image can be uploaded to market the offer within your Ordering.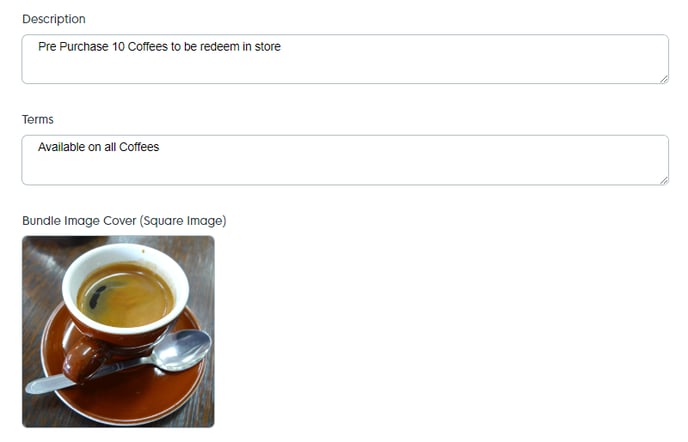
After setting everything scroll to the bottom of the page and hit Create in the bottom right corner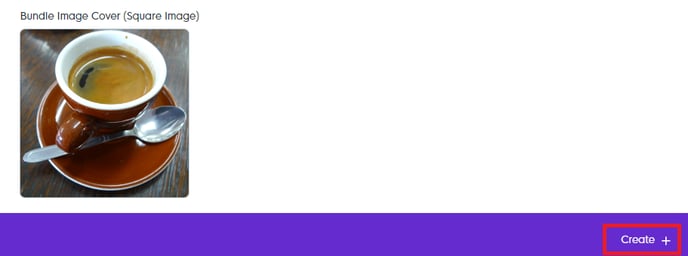
You should then see a successfully created message in the bottom left corner of the screen.
Should you have any further questions or require additional support please contact us via email over on support@loylap.com