![Web-colour (1).png]](https://support.loylap.com/hs-fs/hubfs/Web-colour%20(1).png?width=104&height=50&name=Web-colour%20(1).png)
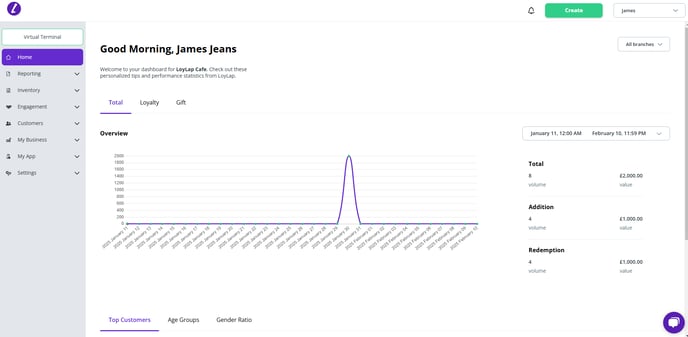
1) Log into your business portal.
2) Access My Business & Branches.
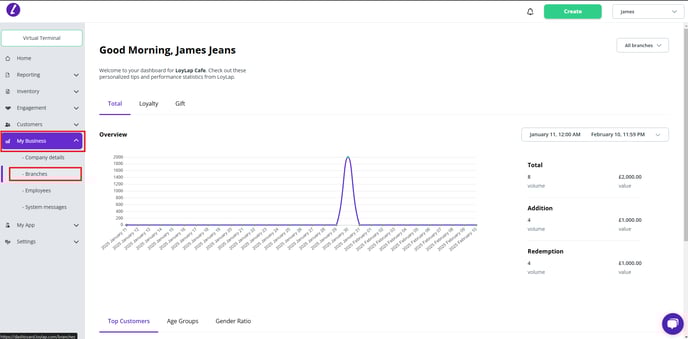
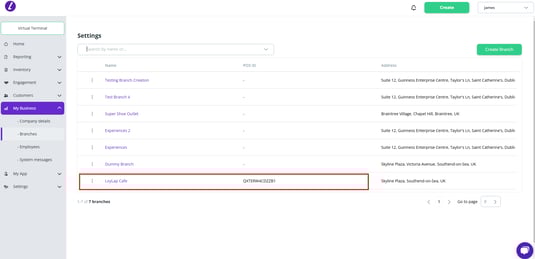
3) Click on the Branch you want to customise slots for.
4) Click on the Ordering then select the dispatch method you want to set Slots up for. The Dispatch slots are listed on the left hand side of the screen under 'Ordering Settings'.
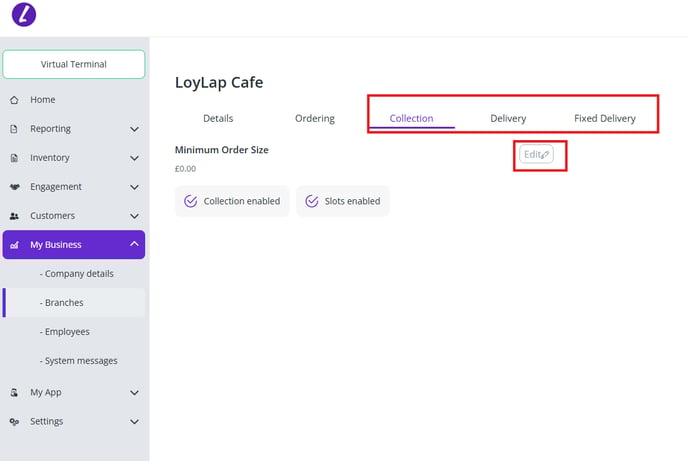
Click on the edit button and you will see the below screen giving you the option to enable Slots for the selected dispatch method.
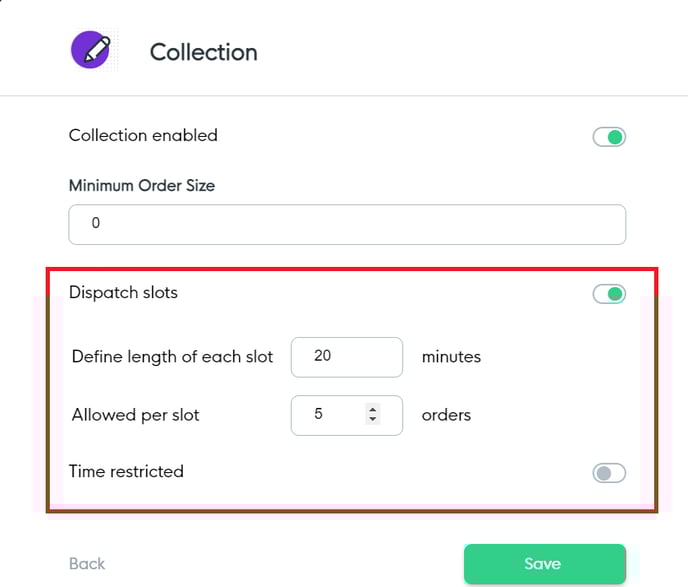
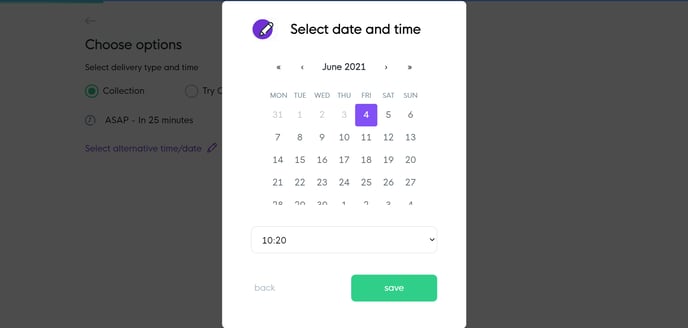
The example above means that customers looking to collect will have to select from a 20 minute time slot for their order and that as a business you can accept 5 orders per slot. Once 5 orders have been made for a specific slot it will then be greyed out and unavailable. Below is how slots will appear to the customer:
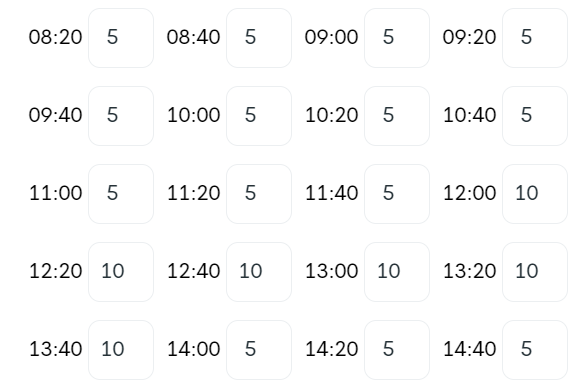
If you wanted further flexibility for your slots you can enable the 'Time Restricted' function. This will allow you to customise the Order Limit for each slot. An example would be if you had extra kitchen staff from 12:00 until 14:00 you could increase the Order Limit for the slots in that period as shown in the screenshot below.
It is worth noting that even with Slots enabled the receipt will still print in accordance with your receipt printing options. I.E if you have a prep time of 30 minutes and have the print timing set for prep time printing this will still print 30 minutes before order time.
Should you need any further support or have any other questions please contact us using support@loylap.com