![Web-colour (1).png]](https://support.loylap.com/hs-fs/hubfs/Web-colour%20(1).png?width=104&height=50&name=Web-colour%20(1).png)
1) To sign up and start your journey with Loylap visit loylap.com to get started.
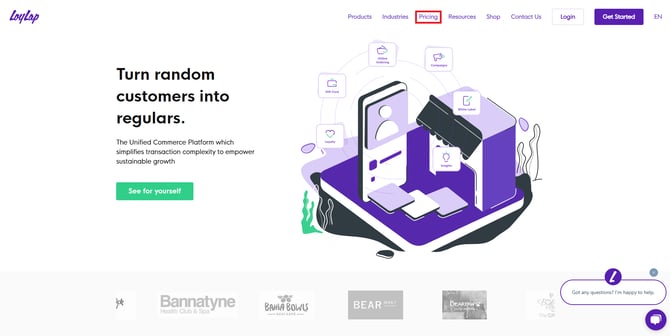
Hit the Pricing button and you'll be well on your way to getting set up with us.
(note - if you already know the Plan you require, you can proceed direct to account creation by clicking 'Get Started' in the top right of the screen.
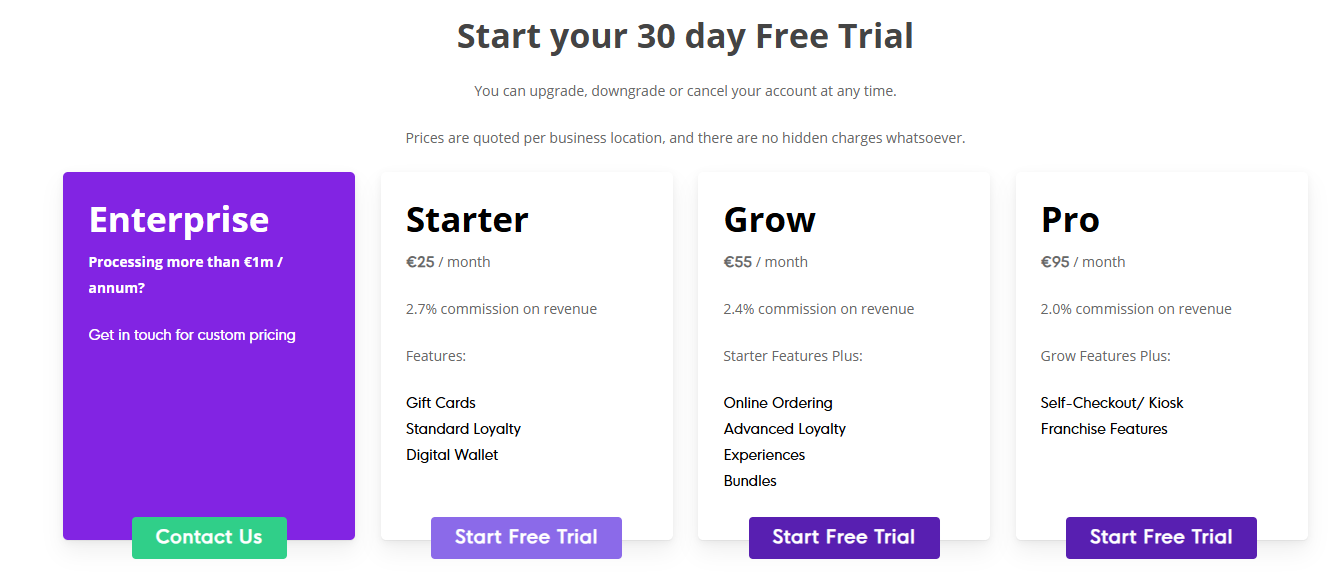
2) You'll be presented with our Pricing Options. This isn't confirmation at this stage, and there is no payment obligation, however it does give you an idea of the level of services we can offer depending on the plan you choose.
3) Once you hit ''Start Your Free Trial'' you'll begin the sign up process and start entering the required details for us to get you started. You'll need to input your name and the email address you are registering to the account, as well as create a password. Once input, click on Next

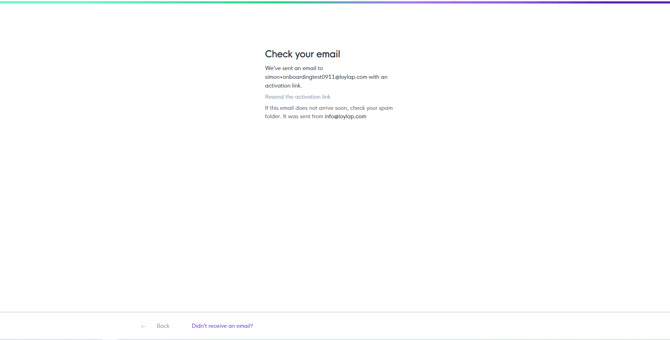
You will then see the below page and be sent a verification email. If you don't get the email in a couple of minutes then hit the link on the verification page.

4) After you've hit the confirm account button from the verification email you will have received you will be required to input some information about your business.
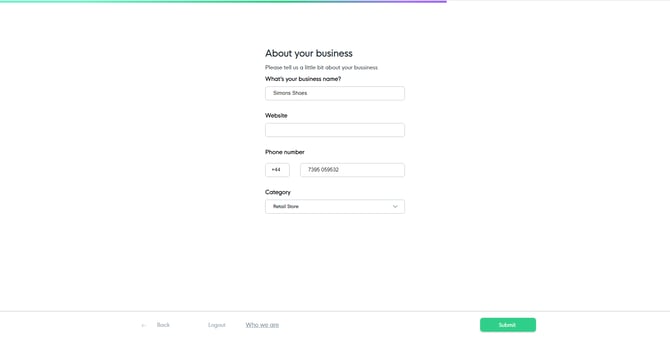
Once you have finished inputting the detail about your business you'll be taken to the pricing pages where you can find a choice of available plans,these will be the same as those listed on the intitial pricing page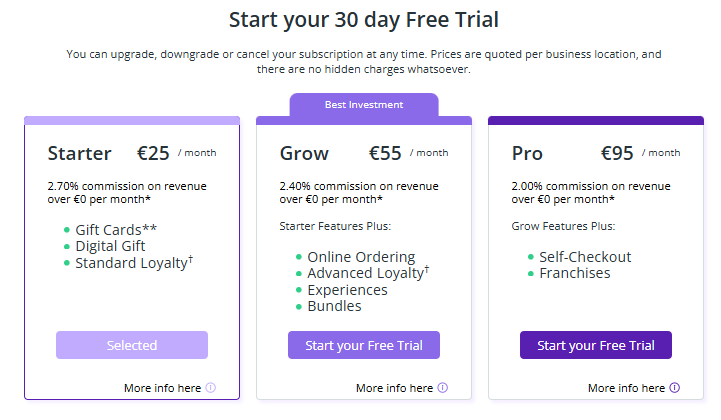
5) Once you've decided on your plan hit Next and you'll be asked to enter in your payment information in order to:
- Validate the payment method with your bank
- Record the payment details should you wish to upgrade your plan
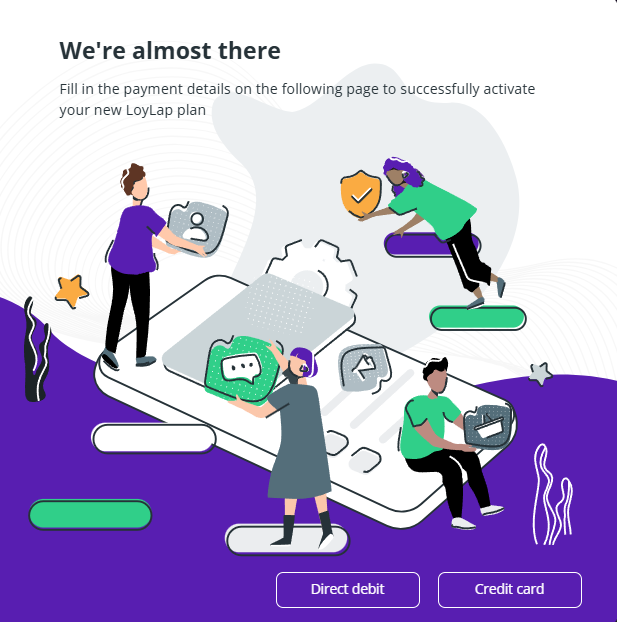
A payment of £/€/$1.00 is required to validate the account and will not be fully debited from the account. It will remain in a pending state for a few days depending on your bank.
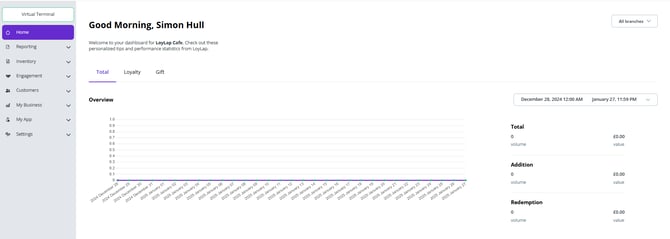
After this processes successfully you will be taken to your very own business portal. It will look something like the below image. This will be your main hub once you start gaining customers to see how successful your business is using Loylap.